Step 3. Brincr API Integration
-
-
After we have granted your application access, you can request a new integration. In the left side menu, go to
Integrationsand click onNew integration. In the dropdownSelect API, you can now select the optionbrincr. After pressing continue, you can select which scopes you would like your application to have access to. Select the desired scopes, click on continue, and confirm integration.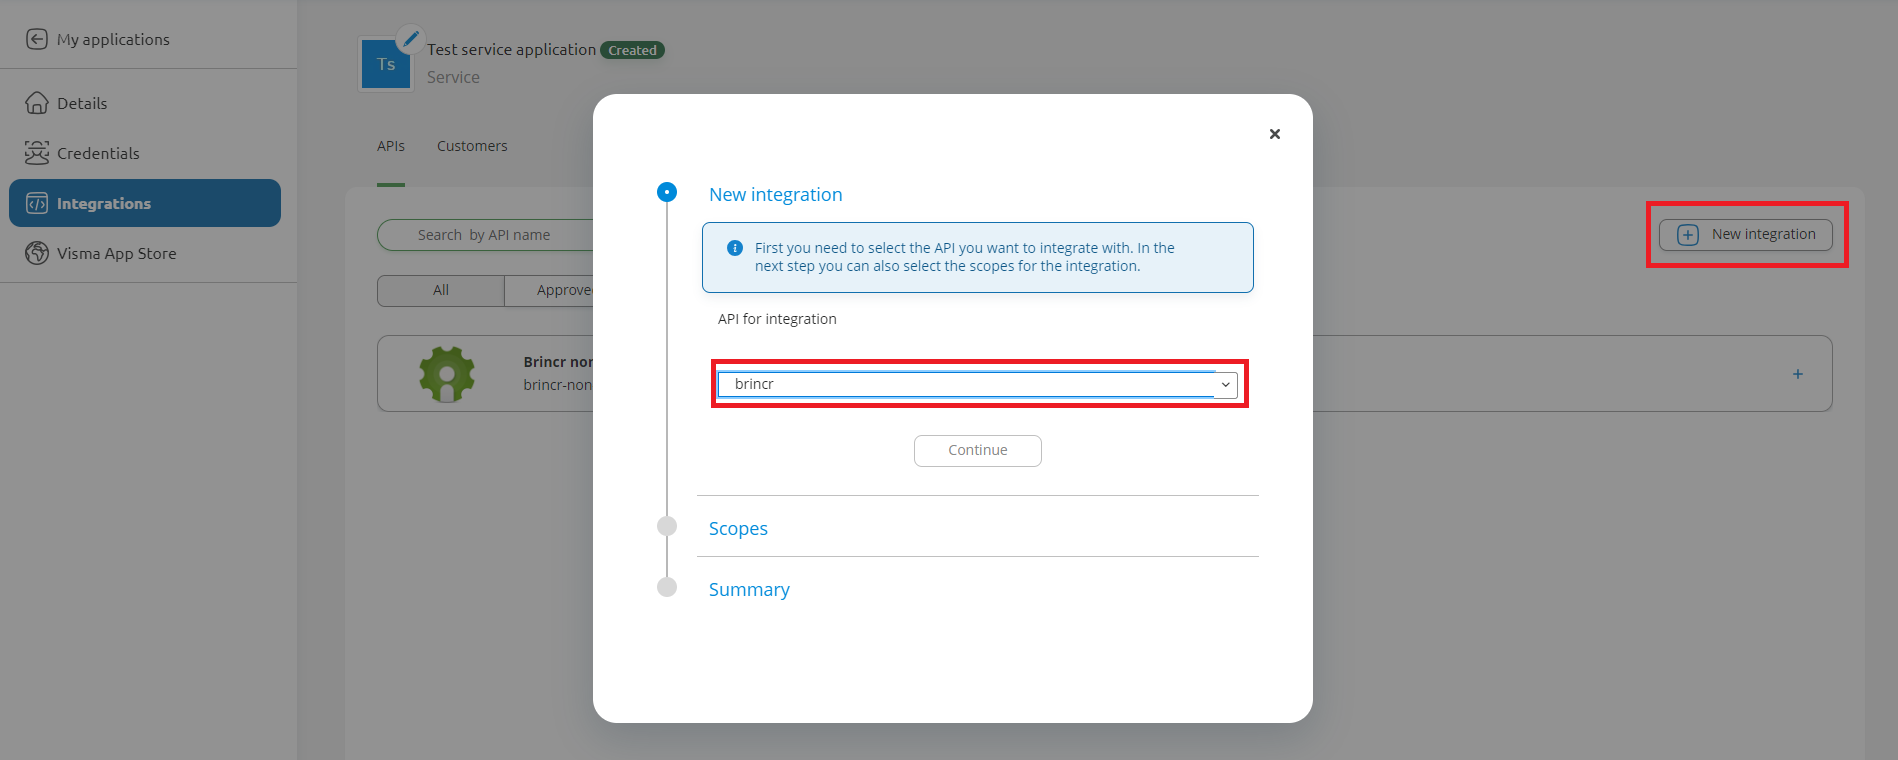
-
For sandbox, this request is automatically approved.
For production we need to approve your integration request. We will do that after validation on 6.2. After this, you are ready to start using the Brincr API.
-
-
Visma App Store
Finally, you need to set up your application in the Visma App Store. Click the green
Start setup for Visma App Storebutton to begin the setup. Set theAccess leveltoInvite only, fill in theDeveloper website URI, and click onSave.-
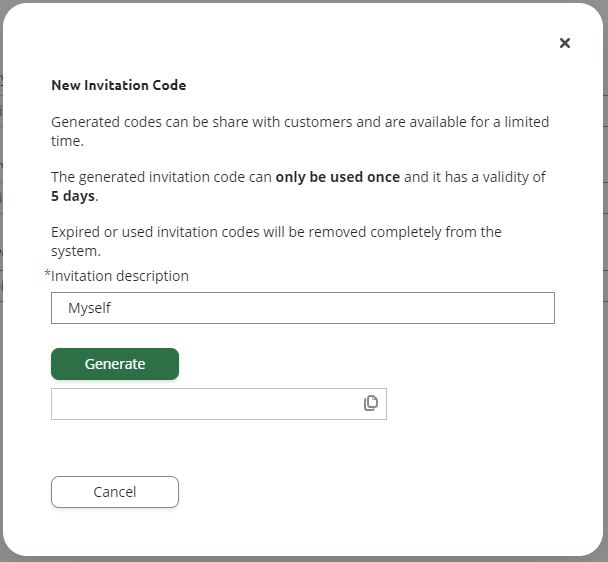
Next, you have to generate an invitation code. This invitation code is used to grant your application access to your data in Brincr. The Brincr user requires this invitation code to grant access to their data. On Sandbox the developer can do this themselves. On production this must be done by the Brincr user. It is also possible to generate multiple invitation codes for multiple Brincr users. This way you can connect multiple Brincr users to the same application in the Visma Developer Portal. After generating an invitation code, make sure to copy it (you will only need it once per Brincr user).
-
Accepting an invitation
The invitation code mentioned in the previous step should be shared with the Brincr user (or yourself on Sandbox) for whom the API integration is being developed, so that they can permit usage of the required scopes.
For Sandbox:
Execute the following steps yourself:
For Production:
Please share the following steps with the Brincr user:Entering the Visma Developer Portal
- Login to the Visma Developer Portal for the Brincr user account.
-
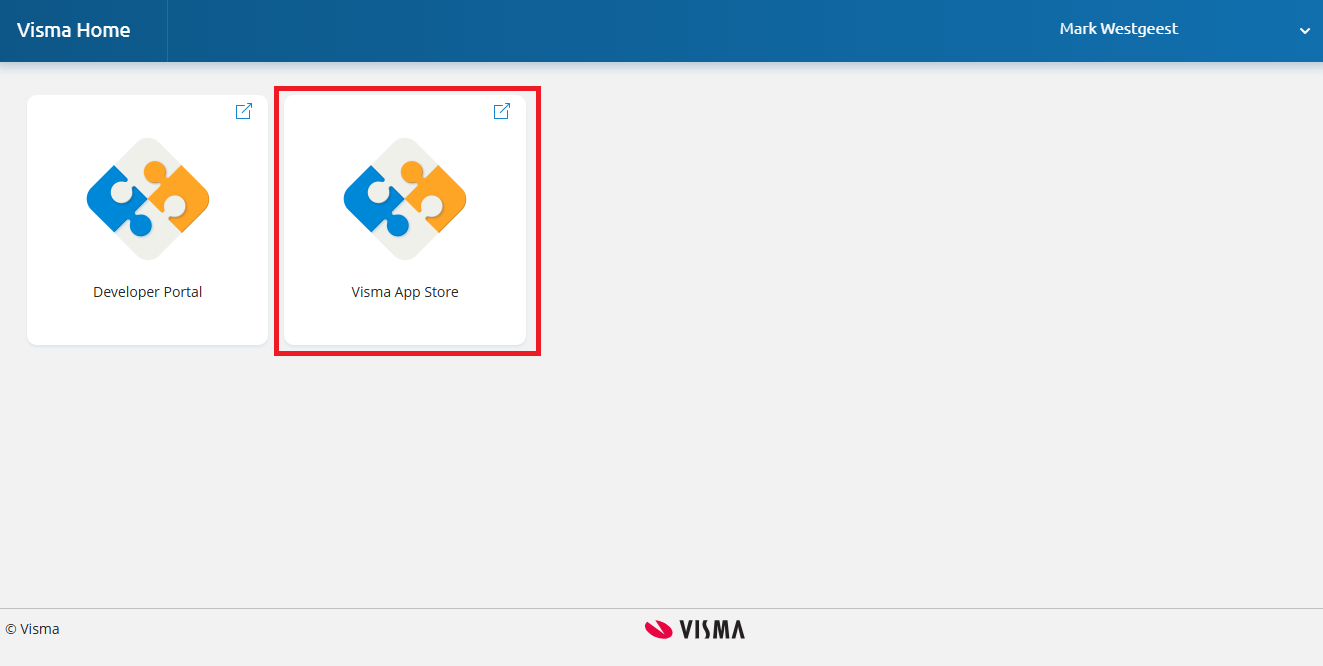
Head to
Visma App Store - Login on the Visma App Store (if you are not yet)
-
If you are asked to select an organisation: select the organisation connected to Brincr (based on the CoC/KvK number).
Using the invitation code
-
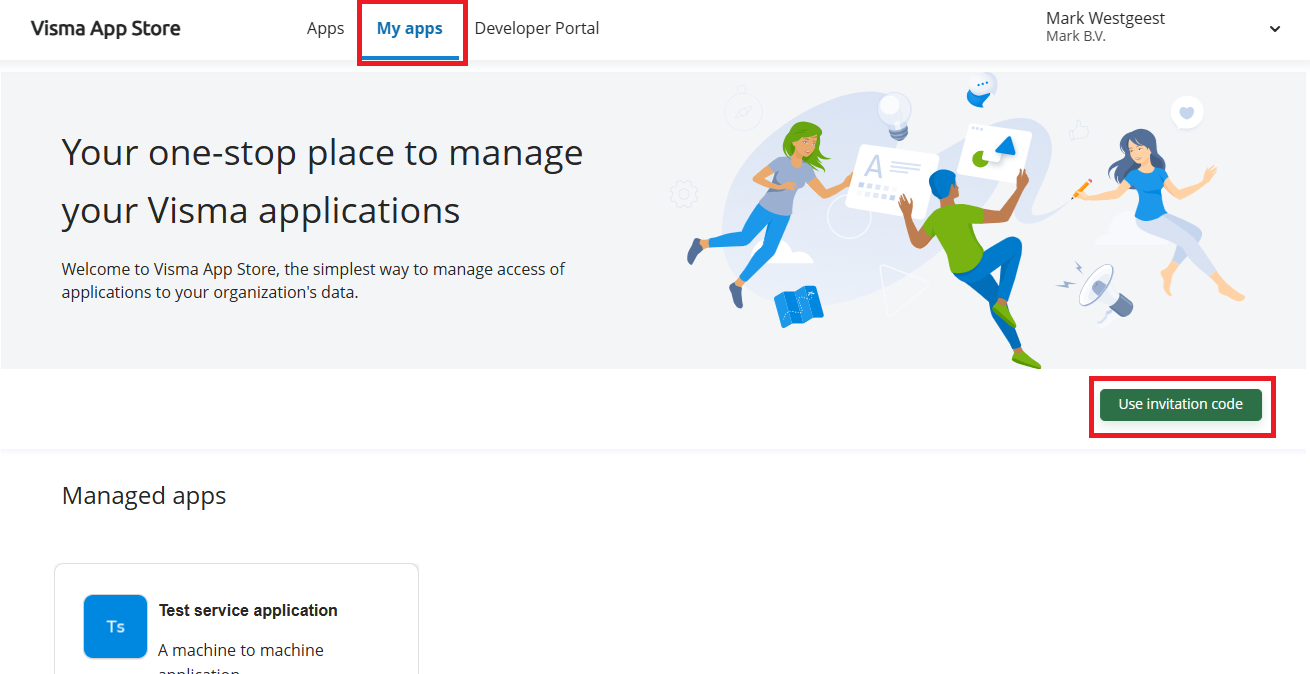
Head to
My apps -
Click on
Use invitation code - Enter the invitation code you received from the API integration developer
-
Click on
Find
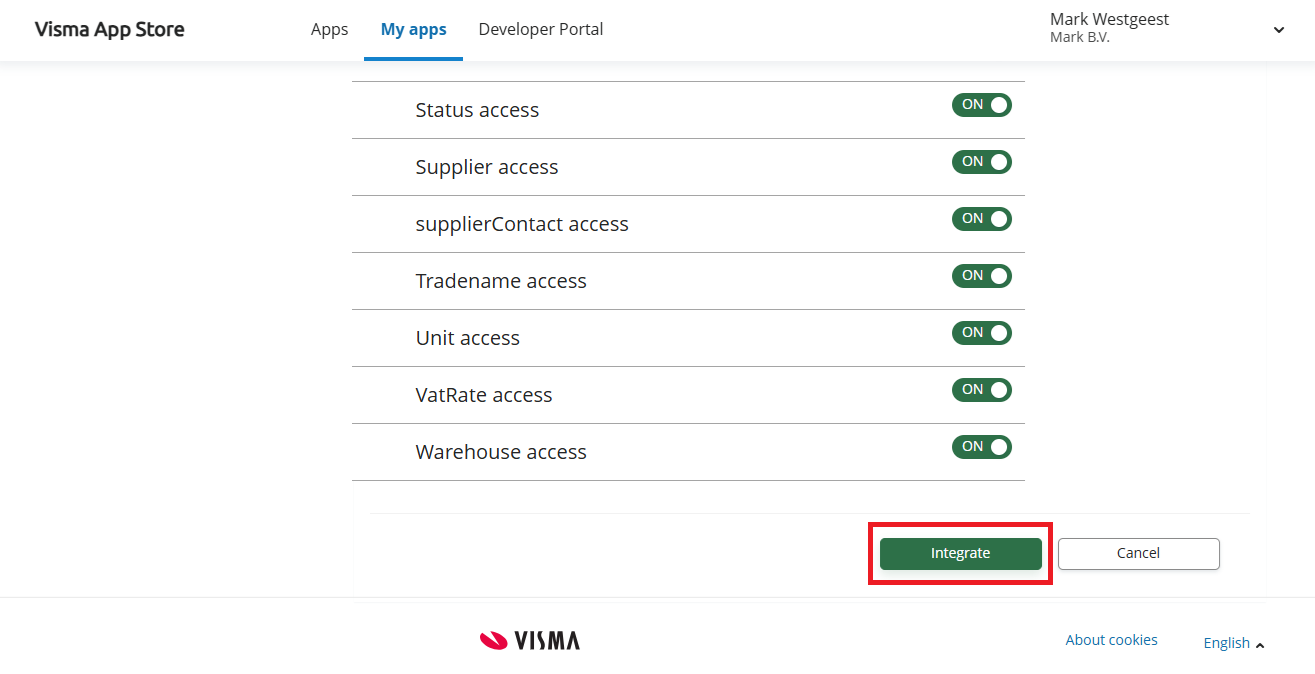
Approving the requested scopes
- You should now arrive on the page with the requested scopes.
- Every scoped requested should already be marked as 'ON'
- If you wish to disable a requested scope you can do so at any time, however it is wise to discuss this with the API integration developer beforehand.
-
When you are ready to submit the requested scopes, scroll down and click
Integrate. - The integration now has approval to use the requested data from your Brincr account.
Note: You can grant or revoke these permissions at any given time on the aforementioned page.